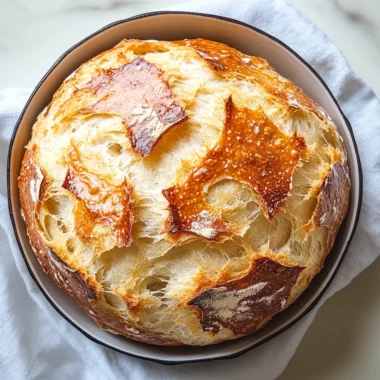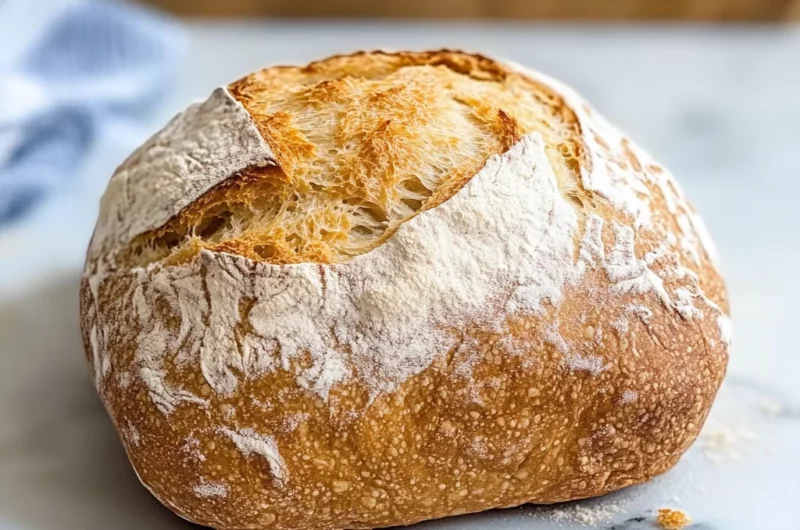
My dairy free bread recipe is easy to make and yields the most crusty, fluffy bread ever. This bread is perfect for breakfast, sandwiches, or simply toasted with your favorite spread. You can enjoy it at any occasion, from casual brunches to festive gatherings. The best part? It’s made without yeast, making the process quick and accessible for everyone!
Why You’ll Love This Recipe
- Quick and Simple: With just a few ingredients and no yeast required, you can whip this up in no time.
- Delicious Texture: This dairy free bread boasts a crusty exterior while remaining soft and fluffy on the inside.
- Versatile Uses: Great for sandwiches, toast, or served alongside soups and salads; it fits any meal!
- Customizable: Feel free to switch up the types of milk or add herbs for extra flavor.
- Diet-Friendly: Perfect for those who are lactose intolerant or following a dairy-free lifestyle.
Tools and Preparation
Before you start baking your dairy free bread, gather the necessary tools to make the process easier.
Essential Tools and Equipment
- Mixing bowl
- Baking tray
- Parchment paper
- Sharp knife
- Measuring cups
Importance of Each Tool
- Mixing bowl: This allows you to blend all ingredients smoothly without mess.
- Baking tray: A good quality baking tray ensures even cooking and browning of your bread.
- Parchment paper: Helps prevent sticking, making it easy to lift your baked bread off the tray.
- Sharp knife: Essential for scoring the dough properly to allow even rising.
Ingredients
Ingredients:
– 1 cup milk of choice (I used oat milk)
– 2 tablespoons white vinegar
– 2 cups all-purpose flour (Use gluten-free, if needed)
– 1/2 teaspoon baking soda
– 1/2 teaspoon salt
– 1 tablespoon sugar
How to Make Dairy Free Bread
Step 1: Preheat the Oven
Preheat the oven to 200C/400F. Line a large baking tray with parchment paper and set aside.
Step 2: Prepare the Milk Mixture
In a small bowl, combine the milk of choice with vinegar. Allow it to sit until it curdles, which should take about 10 minutes.
Step 3: Mix Dry Ingredients
In a large mixing bowl, add the flour, salt, sugar, and baking soda. Stir until well combined. Gradually add your curdled milk in two increments while mixing gently until just combined.
Step 4: Knead the Dough
Lightly flour a kitchen surface. Sprinkle a tablespoon of flour over your dough and transfer it onto the floured surface. Gently knead the dough for about 8-10 times until formed into a dome shape. The dough will still be quite sticky. Using a sharp knife, score twice across the dough in a cross shape about half an inch thick.
Step 5: Bake Your Bread
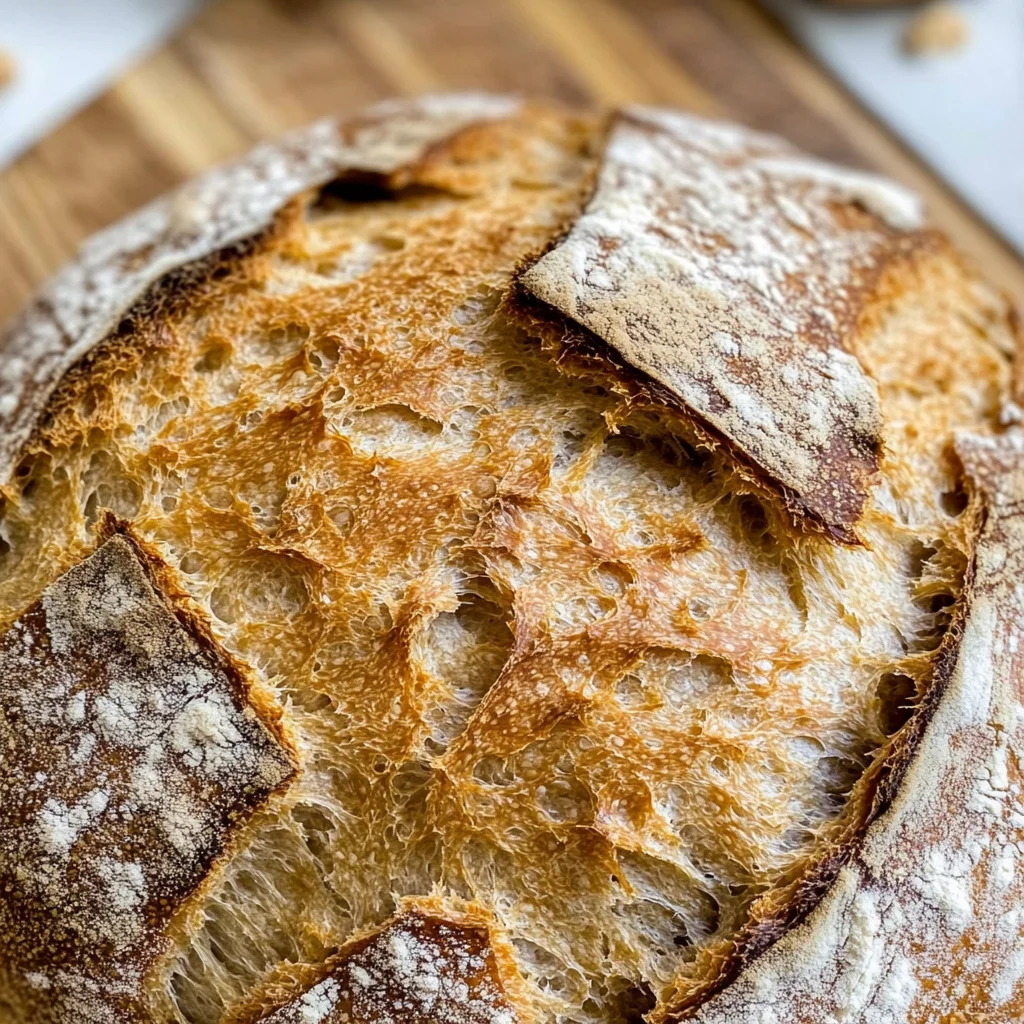
Transfer the prepared dough onto your lined baking tray. Bake for 20-25 minutes, checking around the 20-minute mark. The bread is ready when it’s golden brown on top and sounds hollow when tapped on the base.
Step 6: Cool Before Serving
Remove from the oven and let cool completely on the tray before slicing and toasting. Enjoy your homemade dairy free bread!
How to Serve Dairy Free Bread
Dairy free bread is versatile and can be enjoyed in many ways. Whether you prefer it sweet or savory, there are numerous serving options to delight your taste buds.
Toast with Avocado
- Creamy avocado spread on warm toast makes for a satisfying breakfast or snack. Top with salt, pepper, and a squeeze of lemon for extra flavor.
Peanut Butter and Banana
- Spread natural peanut butter over slices of dairy free bread and add banana slices on top. This combination is not only delicious but also packed with nutrients.
Hummus and Veggies
- Use dairy free bread as a base for your favorite hummus. Add sliced cucumbers, tomatoes, or bell peppers for a refreshing open-faced sandwich.
French Toast
- Dip slices of dairy free bread in a mixture of almond milk and cinnamon, then cook on a skillet until golden brown. Serve with maple syrup for a delightful breakfast.
Grilled Cheese Alternative
- Use dairy free cheese to create a grilled cheese sandwich. Pair it with your favorite soup for the perfect comfort meal.
Bread Pudding
- Transform leftover dairy free bread into a delicious bread pudding by soaking it in an egg-free custard mixture. Bake until golden brown for a sweet treat.
How to Perfect Dairy Free Bread
To ensure your dairy free bread turns out perfectly every time, follow these helpful tips:
- Use fresh ingredients: Make sure your baking soda is fresh for optimal rise and texture.
- Check your measurements: Accurate measuring of flour and liquids is crucial for the right consistency.
- Do not over-knead: Knead just enough to combine the ingredients without developing too much gluten, which can make the bread tough.
- Let it cool completely: Allowing the bread to cool before slicing helps maintain its structure and prevents it from becoming gummy.
- Experiment with flavors: Add herbs or spices to the dough for extra flavor that complements the bread beautifully.
Best Side Dishes for Dairy Free Bread
Pairing your dairy free bread with tasty side dishes can enhance your meal experience. Here are some great options:
- Tomato Soup
A classic pairing that brings warmth and comfort to any meal. - Mixed Green Salad
Fresh greens tossed in vinaigrette add brightness alongside your hearty bread. - Roasted Vegetables
Seasonal vegetables roasted with olive oil make a delicious side that complements the texture of the bread. - Chickpea Salad
A protein-packed salad with chickpeas, herbs, and lemon dressing provides a refreshing contrast. - Sweet Potato Fries
Crispy sweet potato fries are a satisfying side that adds sweetness to balance out savory flavors. - Guacamole
Creamy guacamole served with dairy free bread offers a rich texture and taste that’s hard to resist. - Sautéed Spinach
Quick sautéed spinach with garlic makes for a nutritious side that pairs well with any dish. - Pickles or Olives
Tangy pickles or olives provide an interesting contrast and burst of flavor alongside the soft bread.
Common Mistakes to Avoid
Making dairy-free bread can be simple, but there are common pitfalls you might encounter. Here are some mistakes to avoid:
- Using the wrong milk: Not all milk alternatives behave the same in baking. Use a creamy milk like oat or almond for better texture.
- Skipping the vinegar: Vinegar helps create a reaction with the baking soda, enhancing the bread’s rise. Always include it for fluffy results.
- Over-kneading the dough: Kneading too much can make your bread tough. Aim for just 8-10 gentle kneads to keep it soft.
- Neglecting oven temperature: Ensure your oven is preheated to the correct temperature. An inaccurate oven can lead to undercooked or burnt bread.
- Not checking doneness: Tap the bottom of the loaf; it should sound hollow when fully baked. Don’t skip this step!
Storage & Reheating Instructions
Refrigerator Storage
- Short-term storage: Keep your dairy-free bread in an airtight container in the fridge for up to 3 days.
- Prevent drying out: Wrap the bread in parchment paper before placing it in a container to maintain moisture.
Freezing Dairy Free Bread
- Long-term storage: Freeze your dairy-free bread for up to 3 months.
- Proper packaging: Wrap slices in plastic wrap and place them in a freezer bag, ensuring to remove excess air.
Reheating Dairy Free Bread
- Oven: Preheat at 350°F (175°C) and warm for about 10 minutes for crispiness.
- Microwave: Heat slices on a plate covered with a damp paper towel for about 15-20 seconds. This keeps them moist.
- Stovetop: Toast slices on medium heat until golden brown, giving them a fresh-out-of-the-oven taste.
Frequently Asked Questions
Here are some common questions about dairy-free bread that may help clarify any doubts.
Can I use gluten-free flour for Dairy Free Bread?
Yes, you can substitute all-purpose flour with gluten-free flour. Just ensure it’s a blend suitable for baking.
How do I know if my Dairy Free Bread is done?
The best test is to tap the bottom of the loaf; it should sound hollow when fully cooked.
What are some variations I can try with this Dairy Free Bread?
You can add herbs, seeds, or even spices like cinnamon for flavor variations. Get creative!
How long does Dairy Free Bread last?
In the refrigerator, it lasts about 3 days, while frozen it can be enjoyed within 3 months.
Final Thoughts
This dairy-free bread recipe is not only easy but incredibly versatile! You can customize it with different flavors or toppings to suit your taste. Whether you’re looking for a quick breakfast or an afternoon snack, this recipe will surely impress. Give it a try and enjoy its delightful texture and taste!
Dairy Free Bread
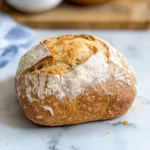
Dairy free bread is a delightful and easy-to-make recipe that yields a crusty exterior and a fluffy interior, perfect for any meal of the day. This no-yeast bread is not only quick to prepare but also versatile enough to suit various tastes. Whether you’re enjoying it as toast with avocado for breakfast, making sandwiches for lunch, or serving it alongside soups for dinner, this homemade loaf will surely impress. Plus, it’s a fantastic option for those following a dairy-free or plant-based lifestyle. With simple ingredients and straightforward steps, you can have fresh, delicious dairy free bread ready in no time!
- Prep Time: 15 minutes
- Cook Time: 25 minutes
- Total Time: 40 minutes
- Yield: Approximately 10 servings 1x
- Category: Baking
- Method: Baking
- Cuisine: Plant-based
Ingredients
- 1 cup milk of choice (oat milk recommended)
- 2 tablespoons white vinegar
- 2 cups all-purpose flour (gluten-free option available)
- 1/2 teaspoon baking soda
- 1/2 teaspoon salt
- 1 tablespoon sugar
Instructions
- Preheat the oven to 200C/400F and line a baking tray with parchment paper.
- Combine milk and vinegar in a small bowl; let sit until curdled (about 10 minutes).
- In a large mixing bowl, mix flour, salt, sugar, and baking soda. Gradually add curdled milk while stirring gently until combined.
- Lightly flour a surface and knead the dough gently about 8-10 times. Score the top with a sharp knife.
- Bake for 20-25 minutes until golden brown and hollow-sounding when tapped.
- Allow cooling before slicing.
Nutrition
- Serving Size: 1 slice (50g)
- Calories: 130
- Sugar: 0g
- Sodium: 170mg
- Fat: 0.5g
- Saturated Fat: 0g
- Unsaturated Fat: 0g
- Trans Fat: 0g
- Carbohydrates: 28g
- Fiber: 1g
- Protein: 3g
- Cholesterol: 0mg